
Here are the instructions from Dynojet's PV3 Installation PDF for logging and deleting data with your PV3.

The PV3 can save a tremendous amount operational data from your bike. I recommend that you setup your gauges on the PV3 using their installation guide. When I had my bike, I used the following settings:


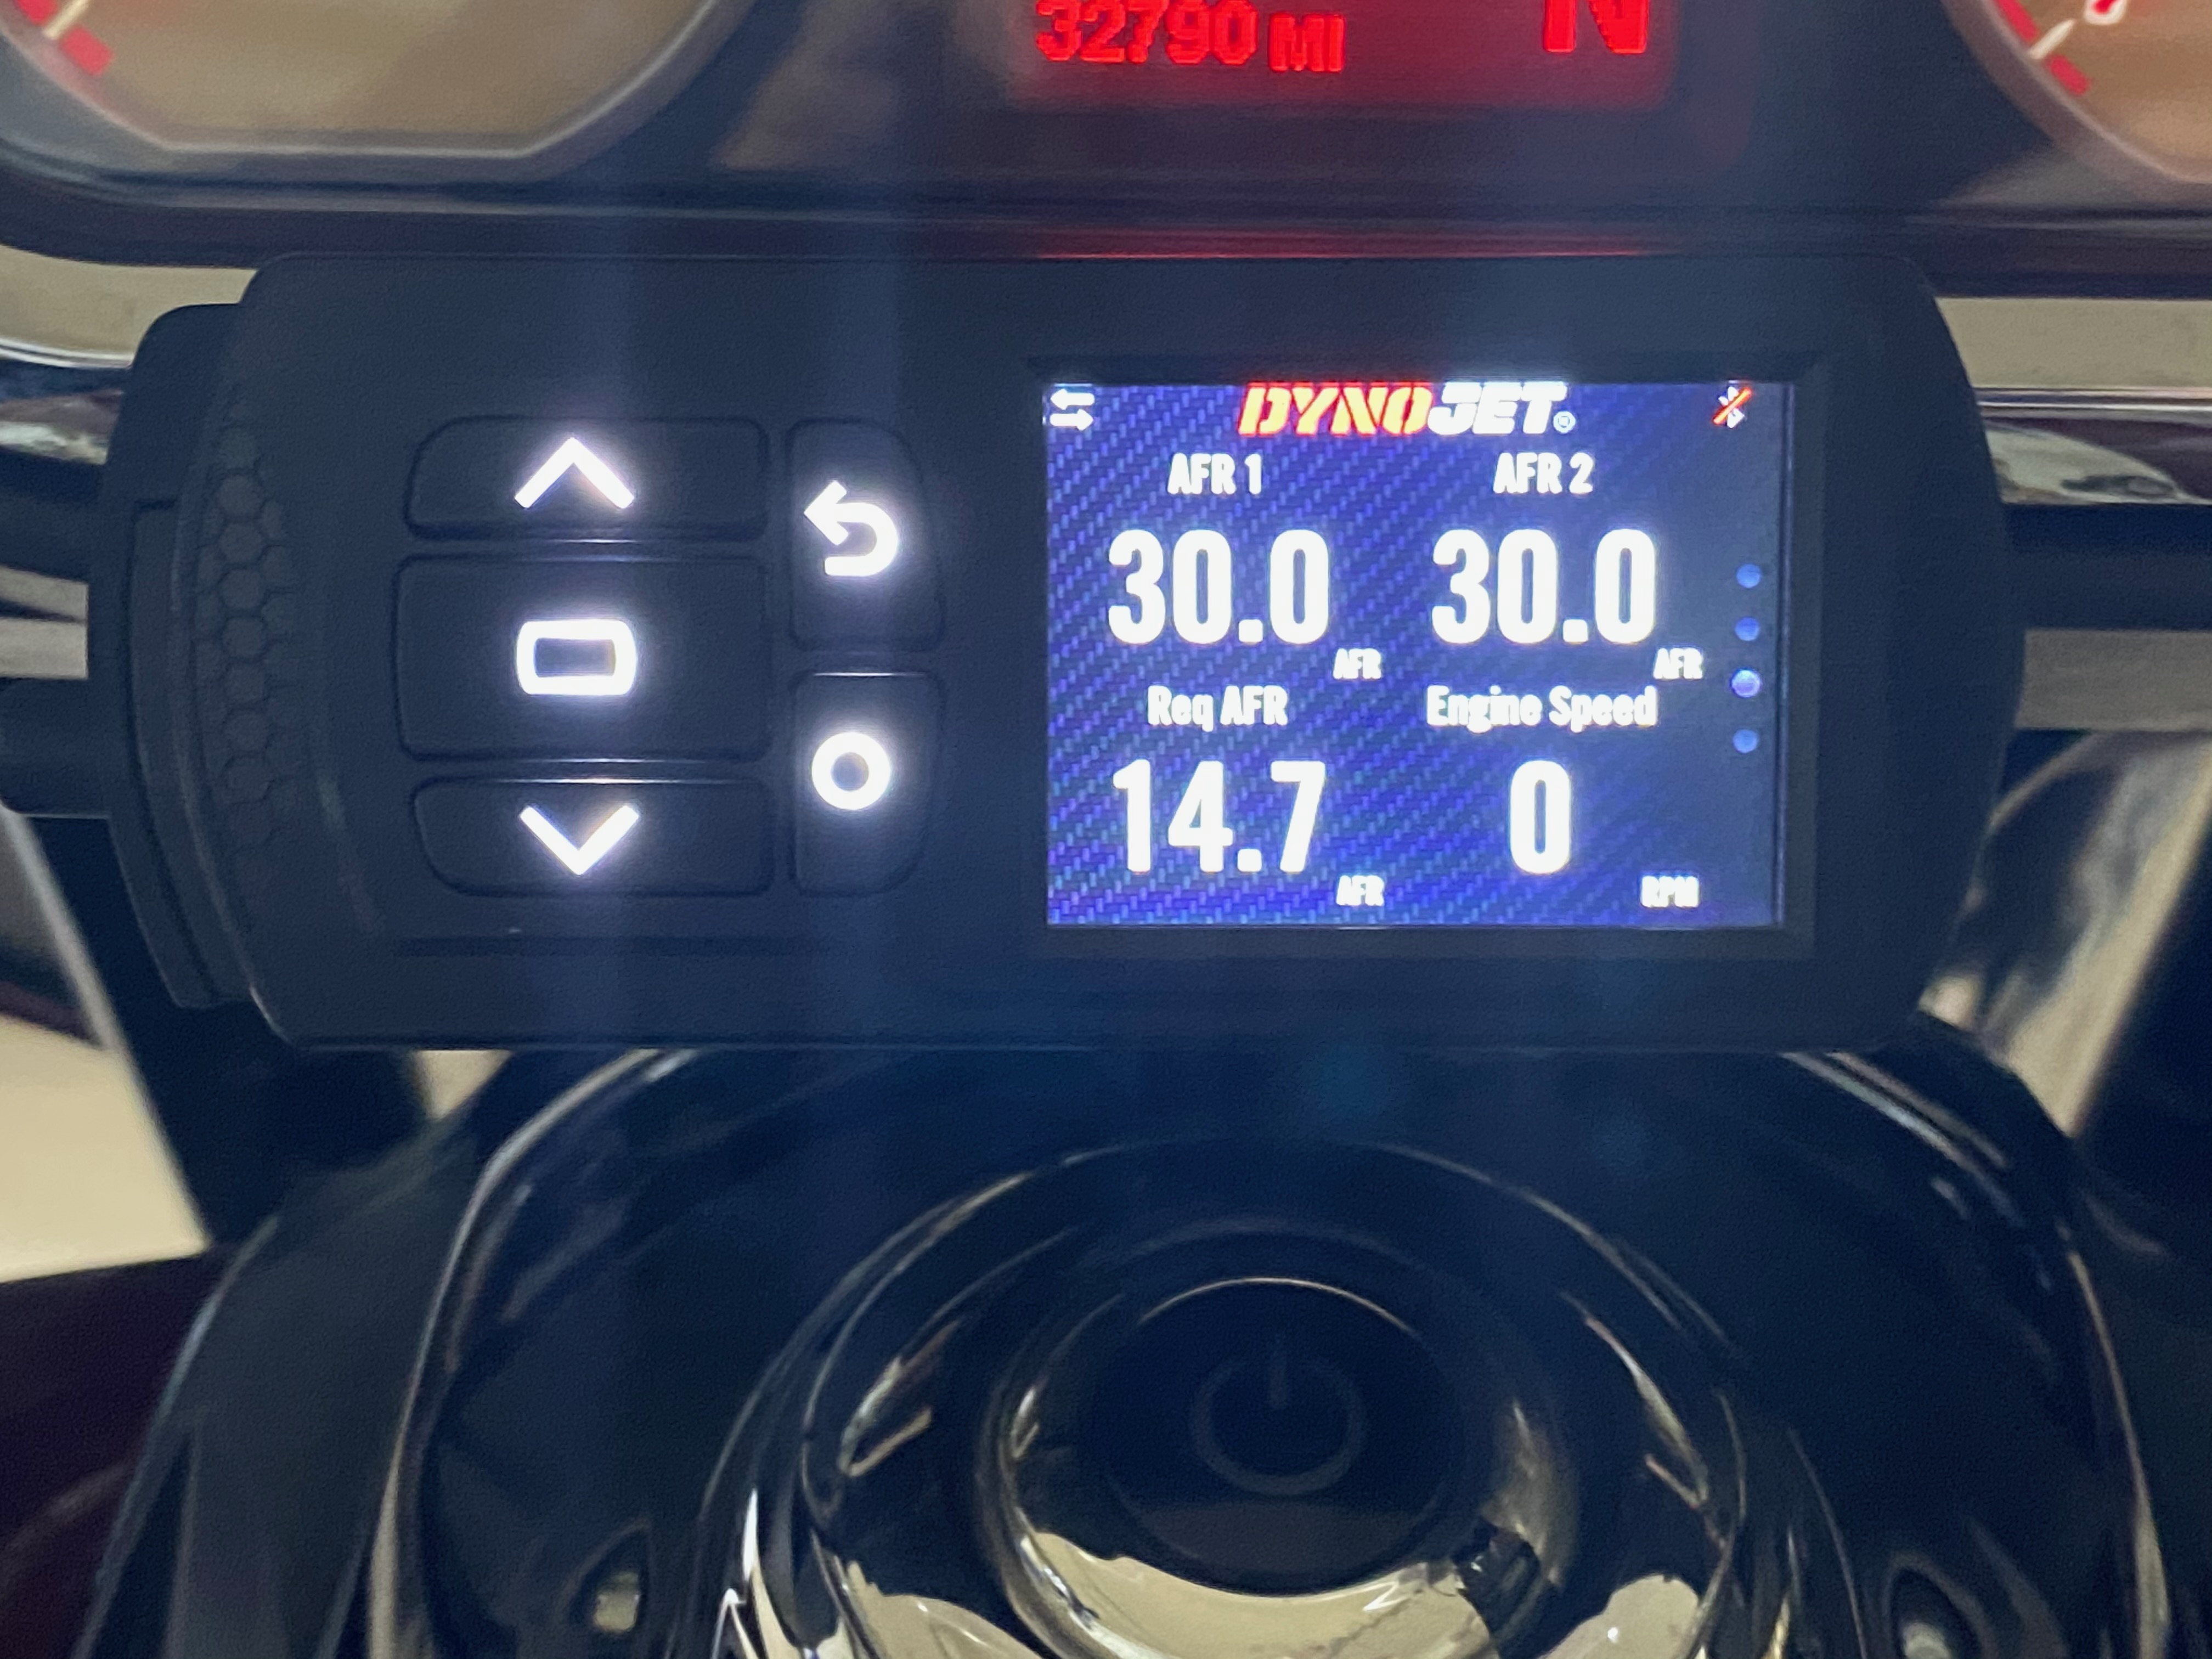

The second image shows the most important information to have, the fuel trims. I had a WBCX hooked up, so the third photo is not applicable with most folks. I would put STFT Front and STFT Rear instead of AFR 1 and AFR 2.
If you are going to be serious with tuning, you might consider getting a mount for your PV3. Dynojet sells a mounts, such as this one that will hold your PV3 while mounted to a GoPro handlebar mount.
Recording logs with your PV3
Connect your PV3 to the diagnostic port as you would to flash the ECU. Be sure you have a tune.DJT flashed to your ECU. You will not have any data displayed on the PV3 except Engine Speed if you have the ECU flashed with the factory calibration (STK file). To display and log data, a custom tune must be installed. This can simply be the STK file that has been saved as a DJT file. In fact, the previous page suggest certain settings to be set before you tune. This is the tune I would start with.
Unless you have some exotic engine configuration, the very best way to tune your engine is to use the STK file that your bike has been running on and save that STK file as the version 1 DJT file. Flash that DJT tune and you will be set to create your first logs.
Once you have the PV3 connected to the diagnostic port, if you do not have your PV3 mounted, find a good/safe place to put the PV3. It is preferable that you can view the PV3 while riding. Start the engine and verify you are getting data on the screens (be sure to configure your screens). If you have a 2019 or newer bike, be sure to disable rear cylinder deactivation each time you start the engine and plan to log. Otherwise, your idle portion of the logs will be corrupted when the engine gets above the threshold to enable this feature.
Once you verify this, ride for at least 5 minutes to ensure the enrichment mode is completely off. This is true every time you start the engine, regardless of its temperature. After 5 minutes or so of riding, pull over in a safe location (or if mounted where you can safely reach the PV3), press the button with the circle on it to begin recording. The display will acknowledge this condition.
For the first time recording logs, ride a you normally do, but concentrate on the idle through 3.8k RPM range of the bike. That is the only operating area that is currently setup to capture data in. The PV3 will continue to record until about 27 minutes, which it will then close the current log and open a new one. If you plan to stop recording logs, before you power down the bike, be sure to press the button with a circle on it once again to close any open log files. Not doing this will result in the loss of the open log file.
You can restart logging at any time, the PV3 will open a new log file. Here are a couple of points to keep in mind:
- Always ride the bike for 5 minutes or more before recording regardless of engine temperature.
- For TS111/TS116 Model years 2019 and newer: Always disable your Rear Cylinder Deactivation Mode before every recording session. This resets each time the engine is started and must be turned off.
- Ride with the goal to collect good data, which is varying load and RPM to hit as many tune cells possible within your closed-loop range.
- Before you begin logging data, make sure you are getting data displayed on the screen (be sure to configure your screens!).
- Always hit the button with the circle on it to stop recording and to close the opened log file before you power down the bike. You will lose the log otherwise.
- The PV3's top portion of the display will invert RED when recording. If this area is not RED, you are not recording!
- When you hit the button with the circle to stop recording, the PV3 will save the log, before you turn off the bike, make sure it flashes up a dialog that it was successful.
- The PV3 does not have a real-time clock. Any file it creates will be dated and timestamped with the earliest date the file system supports.
- The Log files are named with the tune that created it plus a log number and if it continues past the 27 minutes a file with a sub-number will be created, i.e. CB-V1_LOG_1.WP8, CB-V1_LOG_1-2.WP8, CB-V1_LOG_1-3.WP8, etc
- If you stop and restart recording, the PV3 increments the first log number, i.e. CB-V1_LOG_2.WP8.
- Logs take up space on the PV3, be sure to copy them over to your computer and then delete them from the PV3.
- As in point 7, make sure you only have the files you need on the PV3. This is: STK file and the DJT file. The PV3 will create the other files needed. STK files take up a lot of space, only put the STK file that you got with a READ ECU on the PV3.
- Never format your PV3 with the computer, but use the format command on the PV3.
- Always make sure you are at the current version of firmware with the PV3.
- I always keep a "safe" DJT file on the PV3, usually the last known good tune. This incase you get out on the rode and experience a problem with your current tune. Of course you can flash the STK back at any time as well.
- For the TS111/TS116, data is only useful once the bike is above 180 F. On the Scout and FTR-1200, the temperature must be above 170 F.
Once you have done a few of these sessions, it will become second nature. After you have logged your first session, connect the PV3 to your computer and copy all WP8 files over to your computer. Be sure to organize your tunes on your computer. I like to make a master folder. Within that master folder I create another folder called BASE. I put my STK file in that BASE folder, open Power Core Software Suite and create my base or starting DJT tune. I save that tune in my BASE folder. Once I collect the logs, I copy them over to the BASE folder. I then open Power Core Software Suite, C3, load in my base tune, open Data Center and load in my logs. From there I load in my equation into Tunelab (if it is not already loaded) and run the equation. Once I am satisfied with the corrections it made, I save the corrected tune *using save as" to a new folder named Pass 1. The software will prompt you to save the STK file, please do that. I then close the software, copy over the new tune to the PV3, delete all the old logs and then flash the bike with the new tune. I repeat this cycle until I have a well developed tune.
We will go through this procedure next with a video presentation.